To kickstart your journey with the GitHub Copilot for Business product, we first need to configure both the service-side and user-side environments. In this guide, we will walk you through the steps we took and highlight any potential obstacles you may encounter along the way.
Useful Terminology
Terminology which will make things easier.
- Entra ID - **New name for Azure Active Directory, for example
fabrikam.com. - Personal GitHub Account - Personal GitHub account, for example wpschaub.
- EMU Account - Enterprise Managed Users (EMU) account \<ID>_\
, for example wschaub_fabrikam. - EMU Admin - EMU Administrator, for example
admin_fabikam. - EMU Enterprise - EMU Enterprise name, for example
fabrikam. - EMU Enterprise URL - EMU Enterprise link, for example
https://github.com/enterprises/fabrikam. - EMU Shortcode - EMU alias, for example https://github.com/enterprises/fabrikam.
- GitHub Organization - Git Hub Organization, for example
fabrikam_innovation. - GitHub Team - GitHub Team, for example
GitHub Copilot Evaluation.
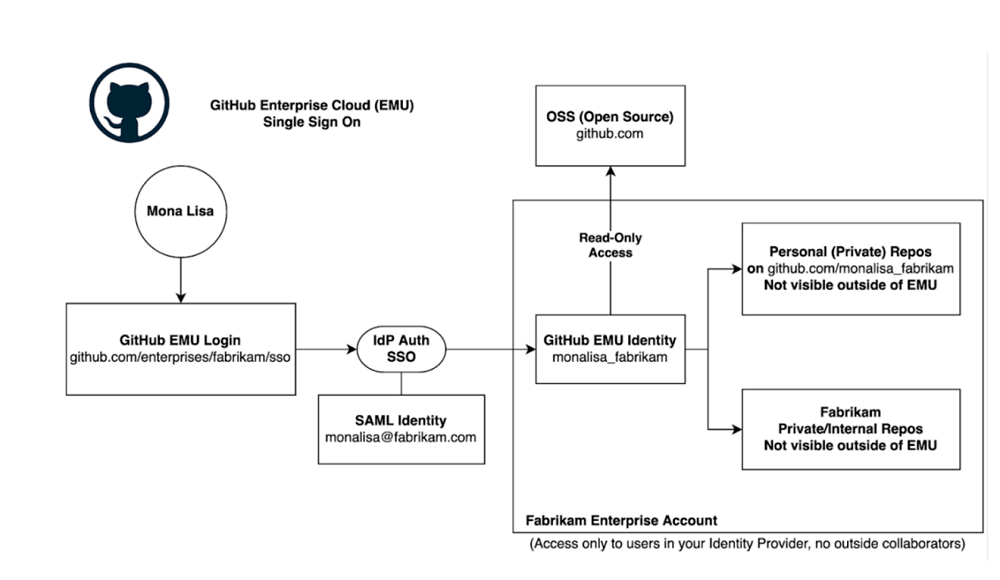
Below is an insightful illustration sourced from GitHub that provides a user-friendly overview of Enterprise Managed Users (EMU).
Service-side Setup
If you are exclusively configuring your (laptop) environment for GitHub Copilot, please bypass this section and proceed directly to the User-side Setup for streamlined instructions.
The GitHub Managed Users (EMU) is comprehensive, though it is detailed to the extent that you might overlook a crucial step (as we did). Here are the key steps:
Setup a GitHub Managed Users (EMU).
- Chat with your Microsoft / GitHub account manager and request EMU.
Setup the IdP Connection
- Install GitHub EMU Application.
Step 1: Preparations
- Involve a person with AAD Admin Access.
- Create a Personal Access Token for the
EMU Adminaccount.
Step 2: Connect GitHub to AAD using OIDC
- Have these handy:
EMU Name,EMU Enterprise URL, andEMU shortcode! - Follow all steps in the GitHub Docs: Configuring OIDC for Enterprise Managed Users to setup the connection.
Step 3: Configure SCIM Provisioning
- Have these handy:
EMU Name,EMU Enterprise URL,EMU shortcode, and your tenant URL, for examplehttps://api.github.com/scim/v2/enterprises/fabrikam! - Follow all the steps in Azure Tutorial: Configure GitHub Enterprise Managed User (OIDC) for automatic user provisioning.
Step 4: Once connected, connect subscription
- Have these handy:
GitHub OrganizationandGitHub Teamnames. - Connect an Azure Subscription ID to pay for Copilot.
- Enable Copilot at the Enterprise Level.
- In your Organization of choice, enable Copilot for the user/team of choice. In our scenario, we handle GitHub team membership through an Azure Directory (AD) group. Being a member of the AD group automatically grants you membership in the GitHub team, providing access to a GitHub Copilot license.
Single-signon is alive and well. At this point you should be able to login with your EMU Admin and your corporate cedentials.
User-side Setup
This is likely the section everyone is eager to dive into – welcoming your Artificial Intelligence (AI) Copilot and embarking on a journey of exploration to reap numerous benefits. These include heightened productivity, enhanced quality, accelerated experimentation and learning, and bolstered engineering confidence.
Before you begin!
- First you need to logout of GitHub in your default web browser.
- This is a crucial step - easy to just ignore it at your own peril!
- Disconnect from Virtual Private Network (VPN).
Failure to do so may lead you down the same nightmarish path I experienced last weekend.
Visual Studio Enterprise / Professional
A special thank you to my copilot, Martin Lacey], who completed the setup first, giving us the dos and do nots, as well as the screenshots.
- Make sure your IDE is the latest version.
- Open Visual Studio Enterprise and go to
Profile > Add Account. - This will open your browser. Use your corporate account, for
demo_fabrikam. Your account name will be different, but follow the same format.
For fellow engineers at WorkSafeBC, use your primary ID, suffixed with _wsbc. For example XXYYYYY_wsbc.
- Once you enter your account name (no password) and press
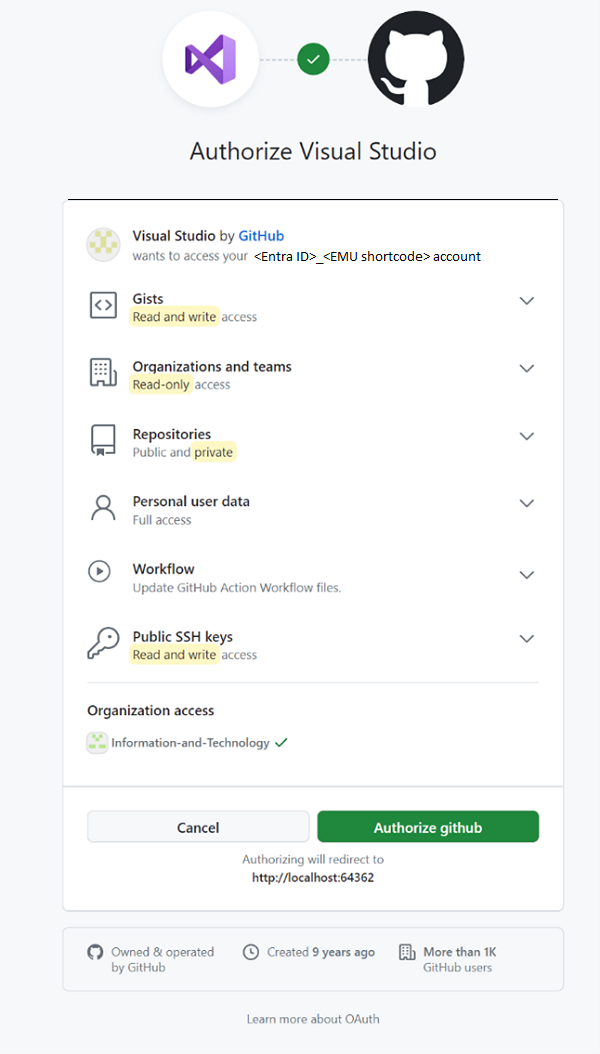
enter, you will be directed to the following web page after a short moment.
- Click on
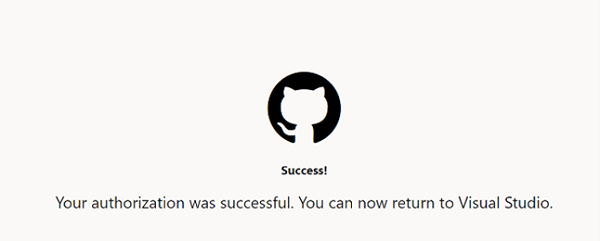
Authorize GitHub.
- Close Visual Studio and restart it.
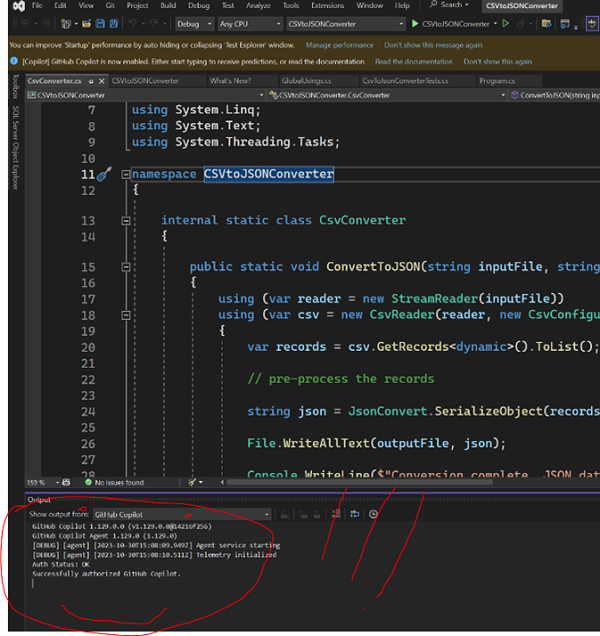
- Verify that you are now connected.
- Now it is time to start exploring!!!
Visual Studio Code
If you sign-out from GitHub on your default browser now, as per before you begin, you can save yourself a lot of pain!
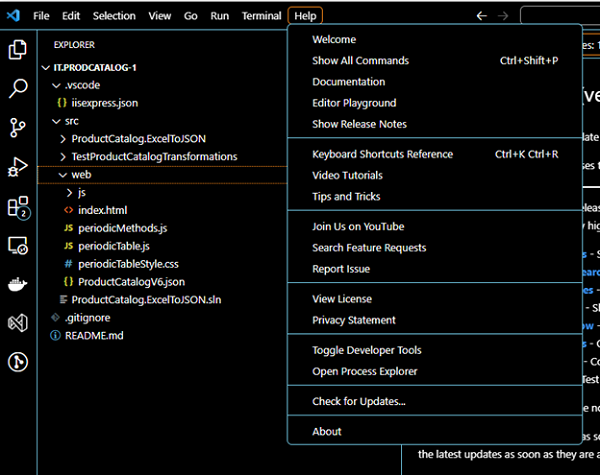
- Open Visual Studio Code (VS Code).
- Ensure you are running at least version 1.83, dated September 2023, by checking for updates.
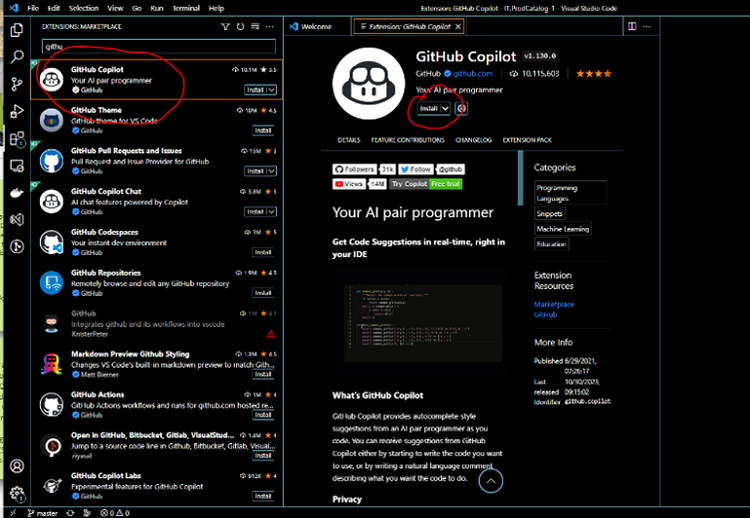
- Go to
View > Command Paletteor pressCtrl + Shift + P. - Search for
GitHub Copilot: Installand select it.
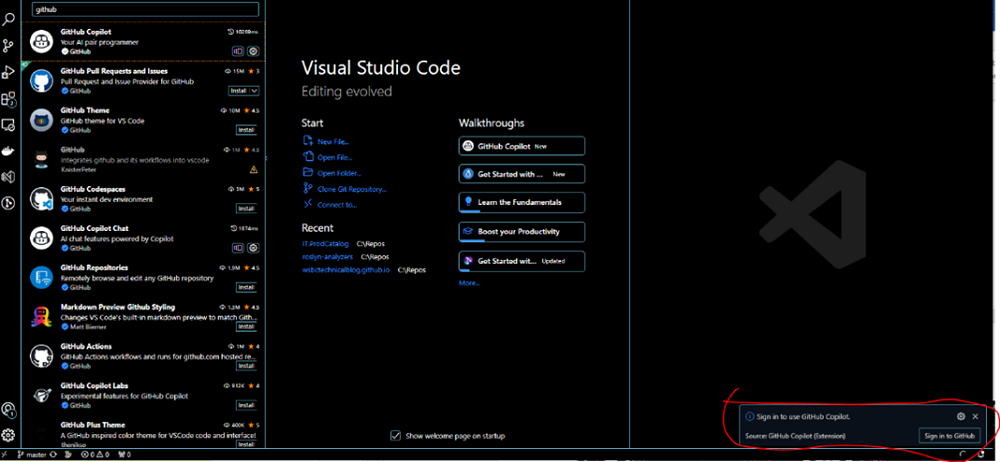
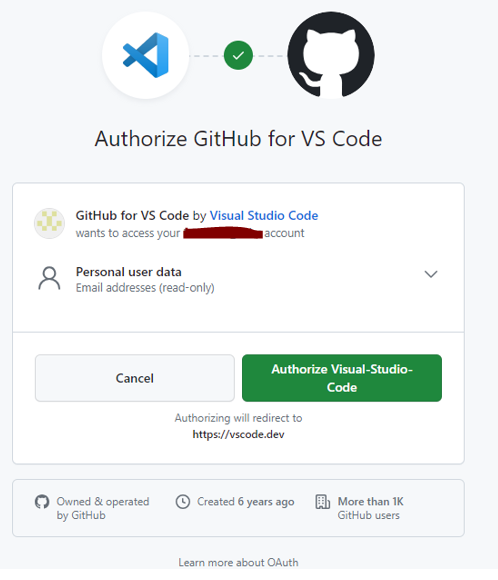
- After installation, log in to GitHub using your EMU Account (GitHub Enterprise Managed Users) such as
demo_fabrikam. Alternatively, you can modify your profile to add the GitHub account.
For fellow engineers at WorkSafeBC, use your primary ID, suffixed with _wsbc. For example XXYYYYY_wsbc.
- Authorize the access.
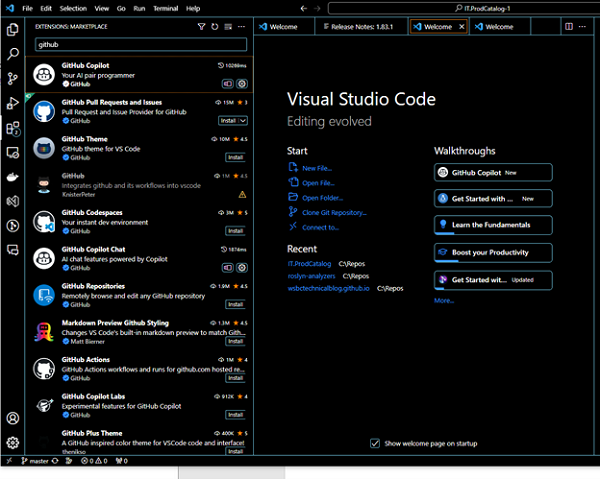
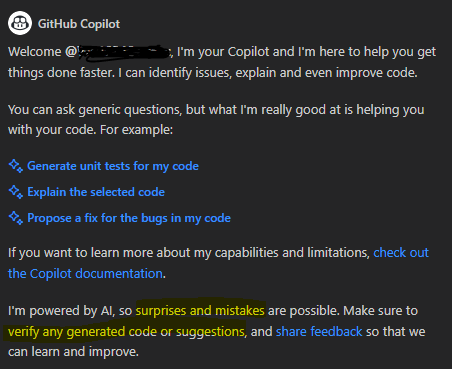
- Once authorized, you will see the following view within VS Code.
-
Trust the local certs on your machine so that the self signed cert is no longer untrusted. Install a plugin named win-ca, go into extension Settings of the extension, and change the inject-option from Replace to Append.
-
Restart Visual Studio Code.
-
Now you are ready to explore the walkthroughs and get started!
Have fun chatting with your AI Pair Engineer Copilot and watch this space for follow-up posts by my colleagues evaluating their Copilot.
Also checkout our GitHub Copilot for Business FAQ blog post😊.

